As a screws supplier, I've seen firsthand the importance of getting screw installation depth right. It's not just about making things look good; it's crucial for the structural integrity and functionality of whatever you're building or fixing. In this blog, I'll share some tips on how to ensure screws are installed at the correct depth.
Understanding the Basics
First off, let's talk about why the correct screw depth matters. If a screw is driven too shallow, it won't hold the materials together properly. This can lead to loose joints, wobbling structures, and even safety hazards. On the other hand, if a screw is driven too deep, it can damage the material, cause splitting, or weaken the overall structure.
The ideal screw depth depends on several factors, including the type of screw, the material you're screwing into, and the purpose of the connection. For example, when screwing into softwood, you might need to go a bit deeper than when screwing into hardwood to ensure a secure hold.
Choosing the Right Screw
The type of screw you choose plays a big role in determining the correct installation depth. Different screws are designed for different applications, and each has its own recommended depth.
- Slot Head Screw: These are one of the most basic types of screws, with a single slot in the head for a flathead screwdriver. They're often used in light-duty applications, like attaching small parts or panels. When using a slot head screw, make sure the depth is enough to fully engage the threads but not so deep that it goes through the other side.
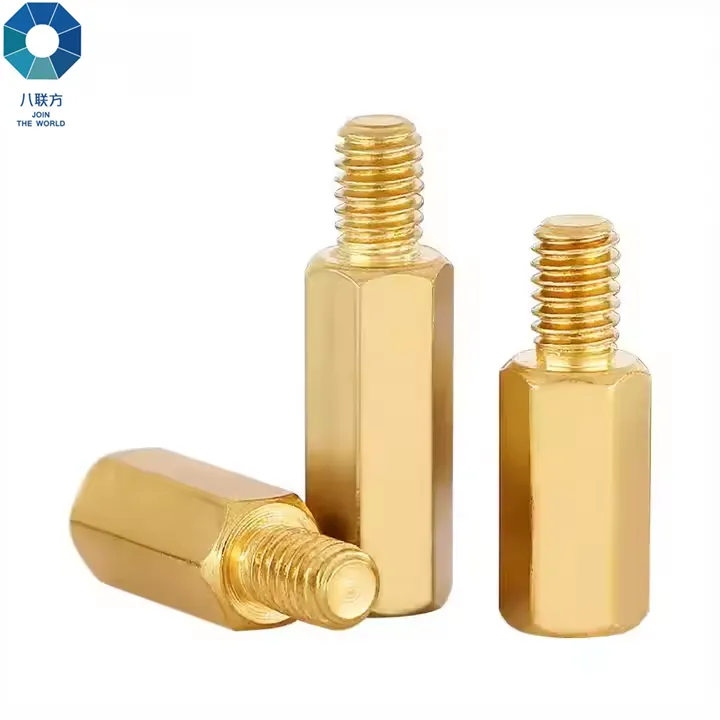
- Brass Hex Standoff Screw: These screws are used to create a space or standoff between two components. The depth of installation is usually determined by the length of the standoff portion. Make sure to measure carefully and install the screw so that the standoff is at the correct height.
- Allen Head M4 X 10 Machine Screw: Machine screws are commonly used in machinery and equipment. The M4 X 10 specification indicates the diameter and length of the screw. When installing this type of screw, follow the manufacturer's recommendations for the correct depth, which is typically based on the thickness of the materials being joined.
Measuring and Marking
Before you start screwing, it's a good idea to measure and mark the correct depth. This can help you ensure that each screw is installed at the same depth and that you don't over- or under-drive them.
- Use a Depth Gauge: A depth gauge is a simple tool that allows you to set the maximum depth for your screw. You can find depth gauges at most hardware stores. Simply adjust the gauge to the desired depth and then use it to mark the screw or the material.
- Mark the Screw: If you don't have a depth gauge, you can also mark the screw itself. Use a piece of tape or a marker to mark the point on the screw where you want it to stop. This can be a quick and easy way to ensure consistent depth.
- Mark the Material: Another option is to mark the material where you're going to install the screw. Use a ruler or a caliper to measure the correct depth and then make a small mark on the surface. This can help you guide the screw and ensure it goes in at the right depth.
Using the Right Tools
Having the right tools is essential for installing screws at the correct depth. Here are some tools that can help you achieve accurate results:
- Power Drill with Adjustable Clutch: A power drill with an adjustable clutch allows you to control the amount of torque applied to the screw. By setting the clutch to the appropriate level, you can prevent the screw from being driven too deep. Start with a lower setting and gradually increase it until you find the right balance.
- Screwdriver with Depth Stop: Some screwdrivers come with a built-in depth stop. This feature allows you to set the maximum depth for the screw and ensures that it won't be driven too far. If you don't have a screwdriver with a depth stop, you can also use a spacer or a piece of tape to achieve a similar effect.
- Pilot Hole Drill Bit: Drilling a pilot hole before installing the screw can make it easier to control the depth and prevent the material from splitting. Choose a drill bit that is slightly smaller than the diameter of the screw and drill the hole to the desired depth.
Testing and Adjusting
Once you've installed a few screws, it's a good idea to test the connection and make any necessary adjustments. Check to see if the materials are securely fastened and if there are any signs of damage or splitting. If the screws are too shallow or too deep, you may need to remove them and start over.
- Check the Tightness: Use a screwdriver or a wrench to check the tightness of the screws. They should be snug but not overly tight. If the screws are too loose, they may need to be tightened further. If they're too tight, they may be causing damage to the material.
- Inspect the Material: Look for any signs of splitting, cracking, or other damage to the material. If you notice any issues, it may be necessary to adjust the depth of the screws or choose a different type of screw.
- Make Adjustments: If the screws are not at the correct depth, you can try adjusting the clutch on your drill or using a different tool. You may also need to drill a new pilot hole or mark the screw or material more accurately.
Conclusion
Ensuring that screws are installed at the correct depth is an important part of any project. By understanding the basics, choosing the right screw, measuring and marking, using the right tools, and testing and adjusting, you can achieve accurate and consistent results.
If you're in the market for high-quality screws, we're here to help. As a leading screws supplier, we offer a wide range of screws to meet your needs. Whether you're looking for Slot Head Screw, Brass Hex Standoff Screw, or Allen Head M4 X 10 Machine Screw, we've got you covered.

Contact us today to discuss your screw requirements and let's work together to ensure your projects are a success.
References
- "Screw Installation Guide" - General hardware knowledge from various hardware stores.
- Manufacturer's specifications for different types of screws.